How to Freeze Dry Food
Freeze drying food is a great way to extend the shelf life of nearly any food—fruits, vegetables, and even complete meals. Over the last few years, more people have turned to freeze drying food in order to save money and reduce unnecessary waste. Whether you’re looking to learn how to freeze dry food or wondering what a freeze dryer can do for you, we’ll walk you through the basic steps of the process.
Step #1: Turn on the Freeze Dryer
You’ll want to be sure to start your freeze dryer right away as it takes some time for it to get cold. Think of this step like preheating your oven.
Step #2: Prepare Food for Freeze Dryer
Prepare your food by washing or trimming it just as you would do to prepare a meal. Place the food on the freeze drying trays (most freeze dryers come with trays). It’s important to not overfill the tray—fill it to no more than the height of the tray.
- nike jordan shoes for men black 2014 images
- nike dunk trucks for sale in texas under 15000
- Air Max 90 2007
- If you’re freeze drying protein, keep the slices no more than a half-inch thick.
- You can put more than one item on a tray. For example, if you’re freeze drying fruit, you could put blackberries on one side and apples on the other side. Helpful Hint: Dunk apples in lemon water first to prevent browning!
What Foods Can You Freeze Dried?
Nearly any food, cooked or uncooked, can be freeze dried. This includes dairy, fruits, protein, vegetables, leftover meals, and more. Using a freeze drying will maintain the taste, so if there’s a sale on seasonal produce, meats, and more, feel free to stock up!
Step #3: Slide Trays into Freeze Dryer
Once the freeze dryer reaches the proper temperature, slip your trays into the freezer, put the door pad in place, and close the door. Remember you can freeze dry a variety of foods all at one time.
How Does Freeze Drying Work?
With the food in the freeze dryer, you may be wondering what’s happening to your food. The freeze dryer starts by freezing the food between -40 and -50 degrees Fahrenheit. Once this happens, the vacuum pump automatically turns on and the trays gradually warm up. Since the food is still frozen, water is released from the food as a gas, drying out the food. This whole process takes about 24 hours to complete.
Step #4: Remove Trays from Freeze Dryer
Once the entire freeze drying process is complete, you’ll hear an alert to remove your food. Turn off your freeze dryer, open the door, and remove the food. You’ll want to inspect the larger pieces of the food to ensure that they are completely dry. If you still notice moisture or the center is cold, extend the drying time. You’ll notice a prompt displayed on the screen so you can easily extend the time.
Step #5: Store Your Freeze Dried Food
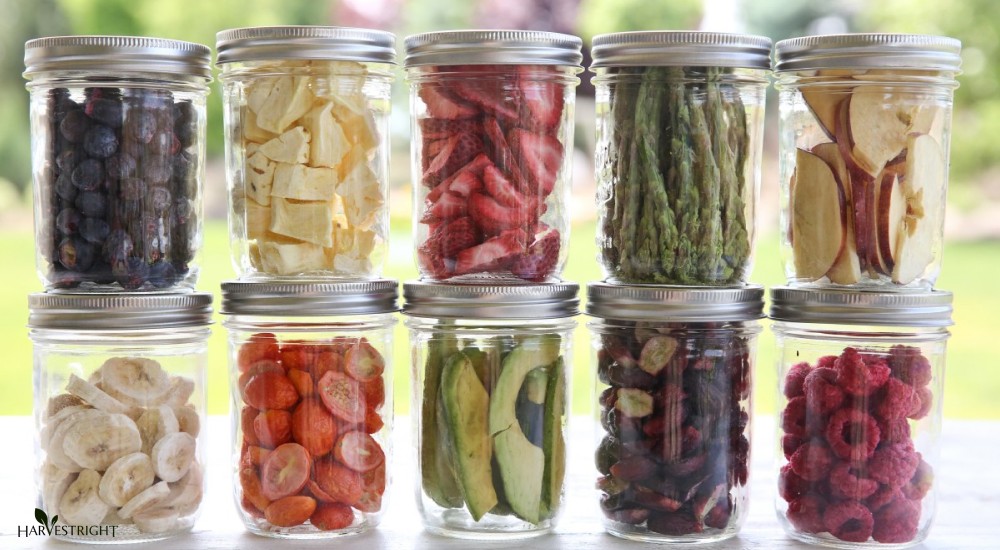
When storing your food, you want to be certain that it’s not exposed to oxygen, as this will cause your food to spoil. There are a few different ways to store your food, but if you’re looking for long-term storage, it’s best to use a vacuum-sealed mylar bag with an oxygen absorber. Canning jars are another great choice if you’re packing dried fruits to snack on!
No matter how you choose to pack your food, you’ll want to label it with the contents and packaging date. Properly stored, your food will stay fresh and retain its nutrition value for up to 25 years.
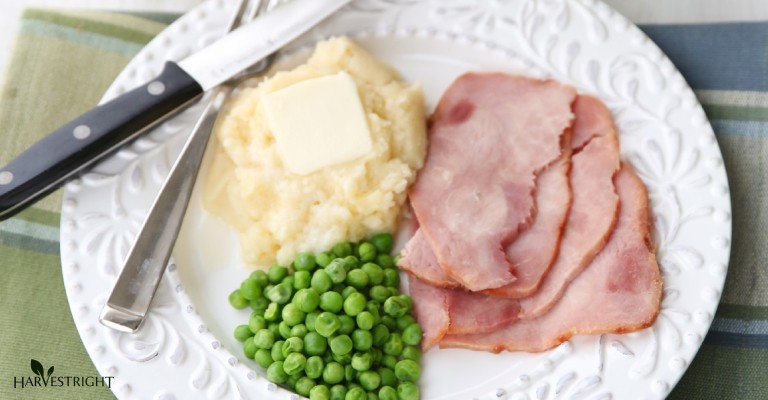
Step #6: Rehydrate Your Freeze Dried Food

You can enjoy your freeze-dried food as is or rehydrate it. To rehydrate a leftover meal, simply boil some water and pour it over your food. The amount of water depends on the type of food and the desired consistency. If you’re rehydrating meat, fruit, or vegetables, submerge them in boiling water for a few minutes. Once it reabsorbs water, the food will regain its flavor, texture, and shape.
Freeze drying food is an easy, cost-effective way to preserve food and extend its shelf life making it worth investing in a freeze dryer. Whether you go backpacking regularly and need to meal prep or want to keep the flavor of perishable items, freeze dried food is an excellent option for meal prepping.